Not every workout is about building big muscles or burning a ton of calories. Some exercises act like a mirror for your body. They show you exactly where you’re tight, weak, or off balance. These simple tests can reveal hidden issues that may lead to poor performance or even injury down the road.
In this article, we break down five movements that can quickly highlight where your body is struggling. You don’t need fancy equipment or a gym. All you need is a bit of space and your body.
1. Overhead Squat: Full-Body Function Check
The overhead squat may look simple, but it’s one of the most revealing movements you can do. It tests multiple parts of your body all at once—from your shoulders and spine to your hips, knees, and ankles.
What it reveals
- Heels lifting? That points to tight ankles.
- Arms falling forward? Tight shoulders or weak upper back.
- Chest collapsing? Core or hip mobility issues.
How to do it
- Stand with feet shoulder-width apart.
- Raise both arms straight above your head.
- Keep arms overhead and squat down slowly.
- Go as low as possible without compromising form.
- Return to the start position.
What to look for
- Arms staying in line with ears
- Chest staying upright
- Heels flat on the ground
Example If your arms drop as you squat, your lats or thoracic spine might be tight. That could affect your performance in presses or pulls. Targeted mobility work may be needed.
2. Single-Leg Glute Bridge: Glute Strength and Stability
Too much sitting weakens your glutes—and the single-leg glute bridge quickly exposes that weakness. It also checks your core stability and balance between sides.
What it reveals
- Dropping hips? Weak glutes or unstable core.
- Uneven lift? One side is weaker than the other.
How to do it
- Lie on your back with knees bent.
- Keep one foot on the floor and lift the other leg.
- Press into your grounded foot and raise your hips.
- Hold at the top, then lower slowly.
What to look for
- Level hips during lift
- Smooth, stable motion
- No strain in the lower back
Example If your right side shakes or dips, that side may need more glute activation drills like bridges, lunges, or clamshells.
3. Wall Angel: Posture and Shoulder Mobility Test
The wall angel is deceptively simple but quickly reveals upper back and shoulder tightness.
What it reveals
- Can’t keep hands or arms flat on the wall? Likely shoulder or thoracic spine mobility issues.
- Feel pain or strain? Weakness or tightness in postural muscles.
How to do it
- Stand against a wall, feet slightly in front.
- Touch your lower back, shoulders, and head to the wall.
- Raise arms to shoulder height (like goalposts).
- Slowly slide arms up and down, keeping contact with the wall.
What to look for
- Hands and elbows staying against the wall
- No neck or lower back strain
Example If your elbows pull away as you lift, it may be due to tight pecs or weak scapular muscles. Include band pull-aparts or wall slides in your routine.
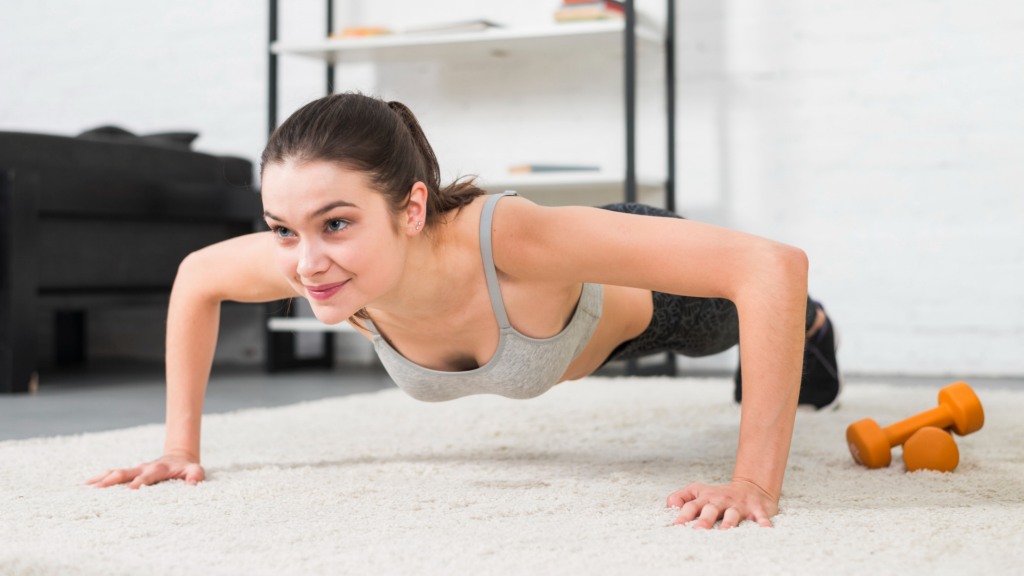
4. Plank with Shoulder Tap: Core Integrity Check
This move tests your body’s ability to stay stable under pressure. It shows whether your core can resist rotation and if your hips and glutes are supporting you properly.
What it reveals
- Hips twisting? Weak obliques or glutes.
- Weight shifting? Core not engaged enough.
How to do it
- Get into a high plank position.
- Feet shoulder-width apart.
- Slowly tap right hand to left shoulder, then switch.
- Keep hips level and movement controlled.
What to look for
- Minimal body sway
- Tight, controlled taps
- Hips level and stable
Example If you shift side to side, it shows a lack of core control. Incorporate bird-dogs and side planks to build better stability.
5. Toe Touch Test: Flexibility and Spinal Health
This classic move tests how well your hamstrings and spine can move. It also gives clues about your hips and lower back.
What it reveals
- Can’t reach your toes? Likely tight hamstrings.
- Feel discomfort in your back? Poor lumbar mobility.
How to do it
- Stand with feet together.
- Slowly bend forward from your hips.
- Try to touch your toes without bending your knees.
What to look for
- Smooth, pain-free motion
- Touching or getting close to toes
- Even movement through spine and hips
Example If you can’t reach past your knees, your posterior chain needs attention. Try daily hamstring stretches, foam rolling, or mobility flows.
How to Use These Tests
These exercises aren’t just workouts. They’re tools for checking your body’s weak spots. If a move feels hard or awkward, that’s not failure—it’s information.
Ask yourself:
- Which move was the most difficult?
- Where did you feel the strain?
- Did one side feel weaker?
These answers guide your training. Strengthen what’s weak. Stretch what’s tight. Align your body for better performance.
Sample Weekly Fix-It Plan
Day 1: Upper Body Focus
- Wall Angels: 2 sets of 10 reps
- Band Pull-Aparts: 3 x 12
- Chest Stretch: 30 sec per side
Day 2: Lower Body Tune-Up
- Single-Leg Glute Bridges: 3 x 8 per leg
- Toe Touch Hold: 3 x 30 seconds
- Standing Hamstring Stretch: 2 rounds
Day 3: Core Control
- Plank with Shoulder Taps: 3 x 10 per side
- Bird-Dogs: 3 x 10 each
- Side Plank: 20 seconds per side
Final Thoughts
These five simple exercises serve as a report card for your body. They help you catch issues early, fix imbalances, and train smarter.
If something feels off during a test, don’t ignore it. That’s your body sending a message.
Work on the weak links. Be consistent. Retest every two weeks.
You’ll move better, feel stronger, and avoid future injuries. Better workouts start with a better understanding of your body—and these five exercises give you just that.